Invoicing 101 with Invoice2go
Whether you’re running a business from the road, gigging after your 9-to-5, or freelancing from the kitchen table, invoicing doesn’t have to be a pain. At Invoice2go, a Bill.com company, we’re focused on providing the tools you need to create and send professional invoices so you can get paid faster, at every stage in the game.
To enjoy hassle-free invoicing in no time at all, let’s start with some basics.
Creating an invoice
A few taps on your smartphone is all it takes to create an invoice. From the Invoice2go home screen:
- Tap the big green icon to create a new invoice.
- Tap the customer field to enter in a new customer, or chose from your own list (current client list or your phone’s contacts).
- Select the item(s) you’d like to invoice for (and you’re almost there).
- Tap on the Action button and select Save.
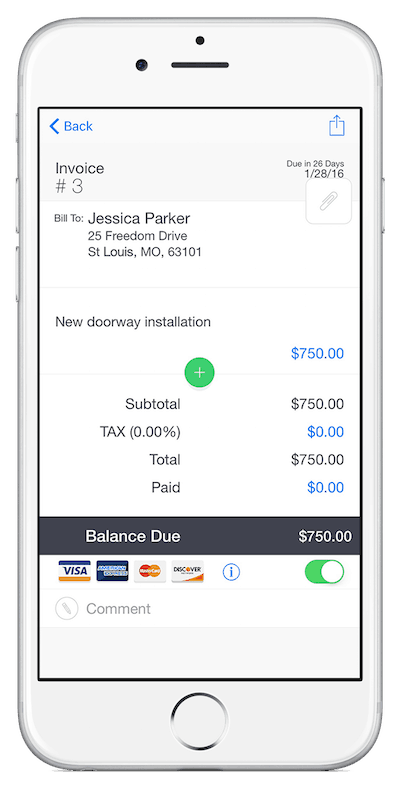
Previewing your invoice
It’s simple — and a good idea — to check out how your invoice will appear to your customer before you send it off. Once you have created your invoice, tap on the Action button and select Preview to see it just how your customer sees it.
Sending the invoice
- To send off an invoice you’ve already created: tap on the Invoices folder.
- Tap the invoice you want to send.
- Tap on the action button and select Email.
- Enter your customer’s email address and hit send. You’re that much closer to getting paid a faster way.
Marking invoice as paid
So you sent the invoice, and you’ve just been paid. Now what? To stay organized, it’s time to mark the invoice as paid:
- Open the invoice and tap the Action button.
- Select Payment and set the Fully Paid toggle button to On.
- Set the date paid, the type of payment and add a note if you’d like
- Tap Save.
Invoicing FAQs
That was pretty easy, wasn’t it? Here are some other common tasks you might also be interested in along the way:
- How can I delete an invoice? Tap on the Invoices folder and select Edit. From here, just select the invoice you want to delete and tap Delete.
- Where do invoices go? Once invoices are saved and sent, all your documents and data are are securely synced to the cloud so you can access it on your smartphone, tablet or computer just by signing into your account.
- What if I want to print my invoice? Your wish is our command. Tap on the Invoices folder and select the invoice you want to print. Press the Action button and select Print. Here you can set up Printer Options.
That’s just scratching the surface. You can do so much with Invoice2go, and we’ve got lots of valuable tips available on our Help Center. Look out for our next Pro Tip around customizing your invoice template. And if you’re new to Invoice2go, check out our app on the App Store and Google Play Store.
Related Articles
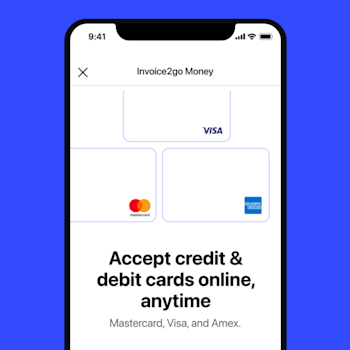
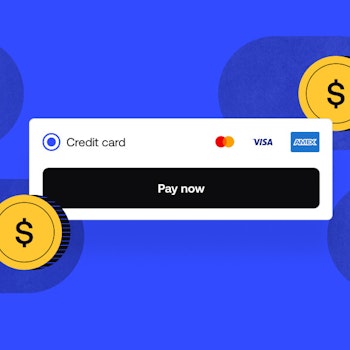
How to accept credit card payments on Invoice2go in 3 simple steps
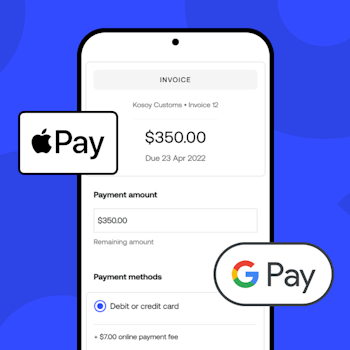
Accept payments online via Apple Pay and Google Pay

Must-not-miss write-offs as you wrap up 2022 year-end finances
5 ways accepting credit and debit card payments helps your business stay resilient

4 easy ways to increase cash flow today

What is Small Business Saturday and why is it important?

The features and surprising benefits of a well-designed packing slip